Room Selection Application Walkthrough
Use the following instructions to navigate and submit your University Housing room selection application.
STEP 1: Navigate to ncstate.starrezhousing.com

STEP 2: From the homepage, click the “24/25 Room Selection Application” tab at the top of the screen.
STEP 3: The next page will read “Application Selection.” This page contains additional information about room selection, application dates and selection groups.

STEP 4: At the bottom of the page, find the “2024-2025 RH Academic Year” block and click “Continue.”
STEP 5: The next page will read “Personal Details.” Fill out any personal information that is missing and ensure that everything is correct before pressing “Save & Continue.”
STEP 6: The next page will read “Emergency and Missing Person Contact.” Fill out both sections and ensure that all information is correct before pressing “Save & Continue.”
STEP 7: The next page will read “Student Profile.” Fill out your living and social environment preferences.
STEP 5: At the bottom of the page, there will be a question labeled “Living and Learning Village.” Check the box if you are interested in applying to a Village. An unchecked box means you are not interested in applying. Ensure that all information is correct before pressing “Save & Continue.”

(If you are not applying to a Village, skip to STEP 10)
STEP 6: The next page will read “Village Preferences.” Use the “Add” button to indicate your top Living and Learning Village preference. The drop-down menu under the “Preference” column will allow you to choose the name of the Village.
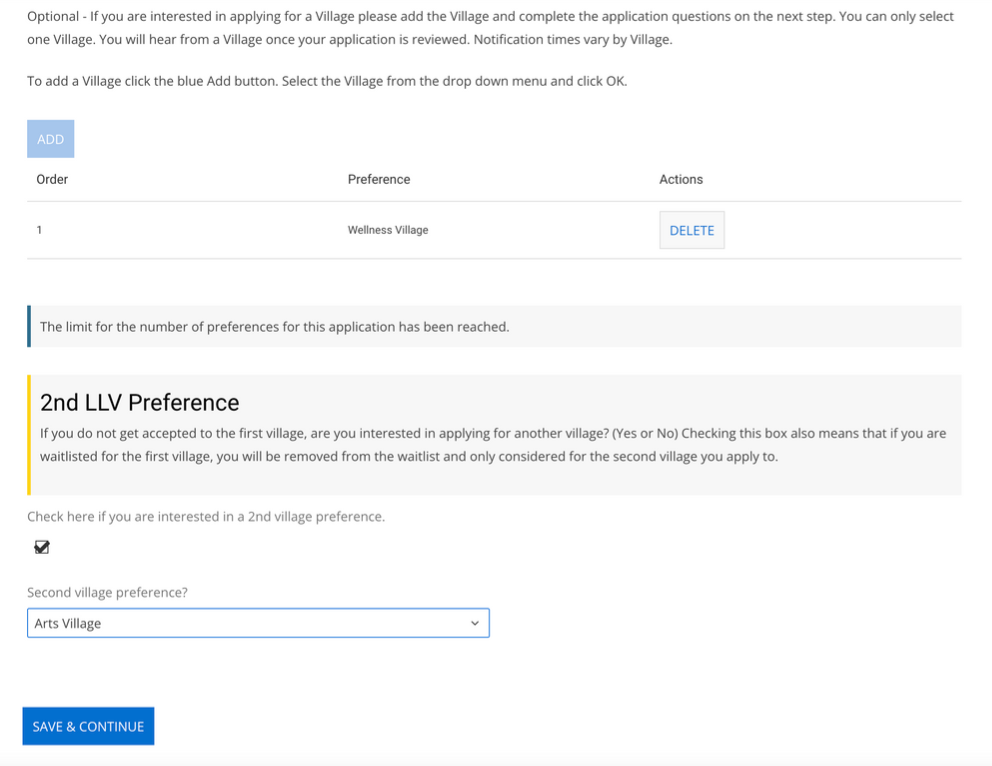
STEP 7: If you are interested in another Living and Learning Village and would like to be considered for that Village in the event that you don’t receive your top Village preference, please check the box under “2nd LLV Preference.” Select your second Village preference from the drop-down menu.
STEP 8: Confirm your preference order before pressing “Save & Continue.” Remember, if you are accepted to your top Village, you will not be considered for your second choice Village.
STEP 9: The next page will read “LLV General Questions.” Use the text boxes below each question to type or paste your answer. Press “Save & Continue” when you have completely answered each question.
STEP 10: The next page will read “Housing Agreement.” Please read through the Housing Agreement via the embedded file or the University Housing website. Type your student ID number into the text box to indicate your agreement to the terms and conditions for housing. You have the option to print this page for your own records. Press “Save & Continue” to continue.
STEP 11: The next page will read “Roommate Groups.” Here you can join a roommate group, edit the members in your group or create a new group.
- If you are not participating in the room selection process in a roommate group, you can click “Search for Roommates by Profiles” for suggestions based on shared living space preferences or you can click “Save & Continue” and skip to STEP 11
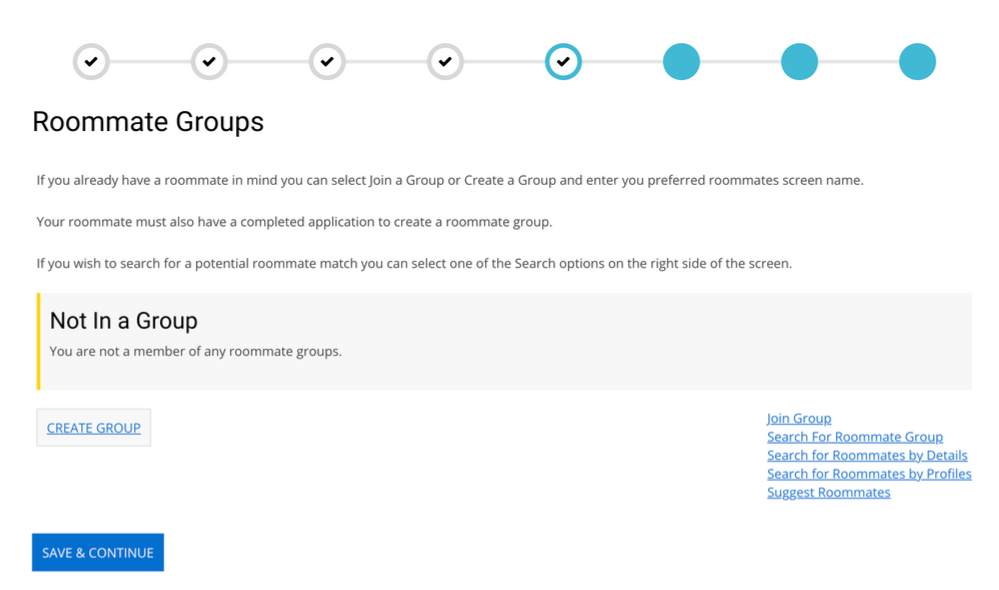
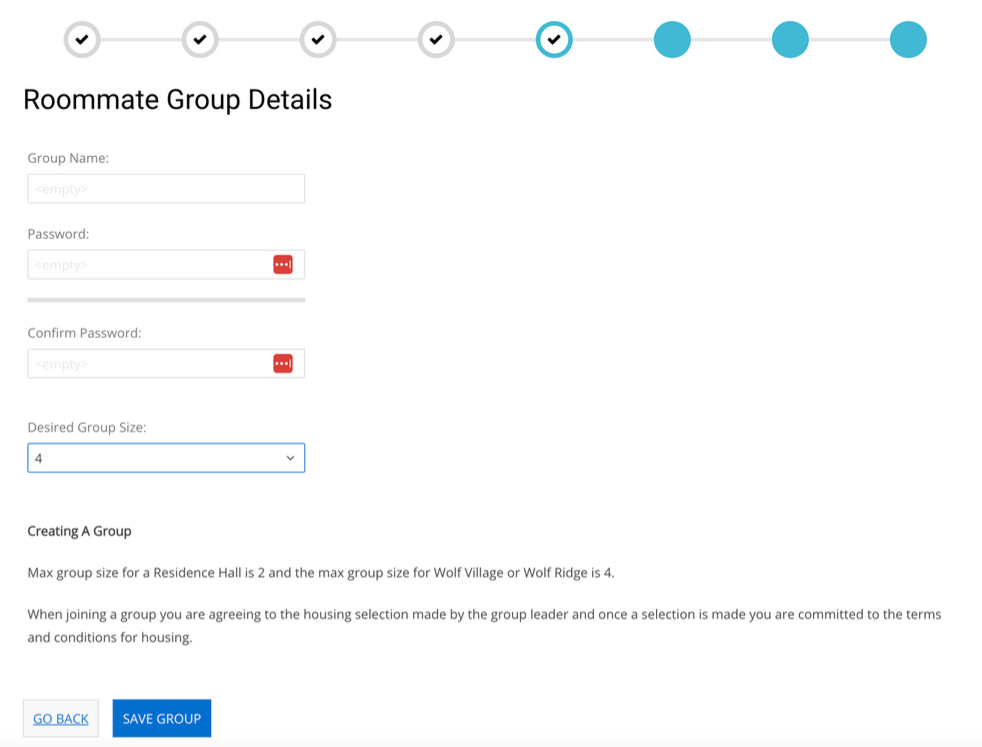
STEP 12: On the “Roommate Groups” page, click “Create Group” to create a roommate group. On the “Create Group” page, create a group name, group number (2-4) and password.
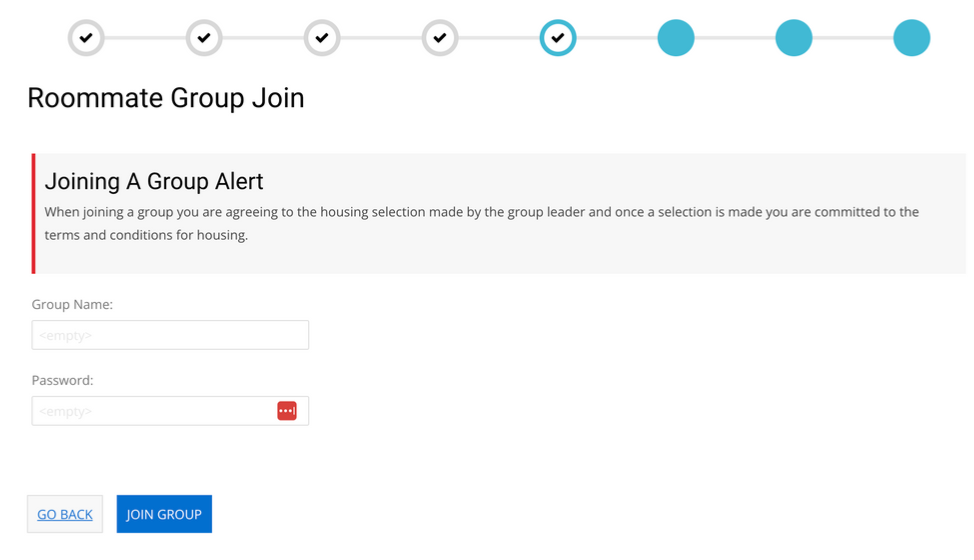
- If someone has already created your roommate group, click “Search for Roommate Group” on the right and enter your group name and password to be added.
- If you have already added yourself to a roommate group, you will have the “Edit Group” option, where you can make changes to your group.
- Roommate groups must be the same number as spaces in the room/apartment you would like to select. For example, a Wolf Village apartment would require a roommate group of four and a room in Turlington would require a roommate group of two.
STEP 13: On the “Roommate Groups” page, you can message other members of your roommate group, or change the leader of the group. We recommend that the group leader be the person with the earliest room selection time. When your group is ready, click “Verify Group.” Click “Save & Continue” after you receive a “Your roommate group has been verified” notification.
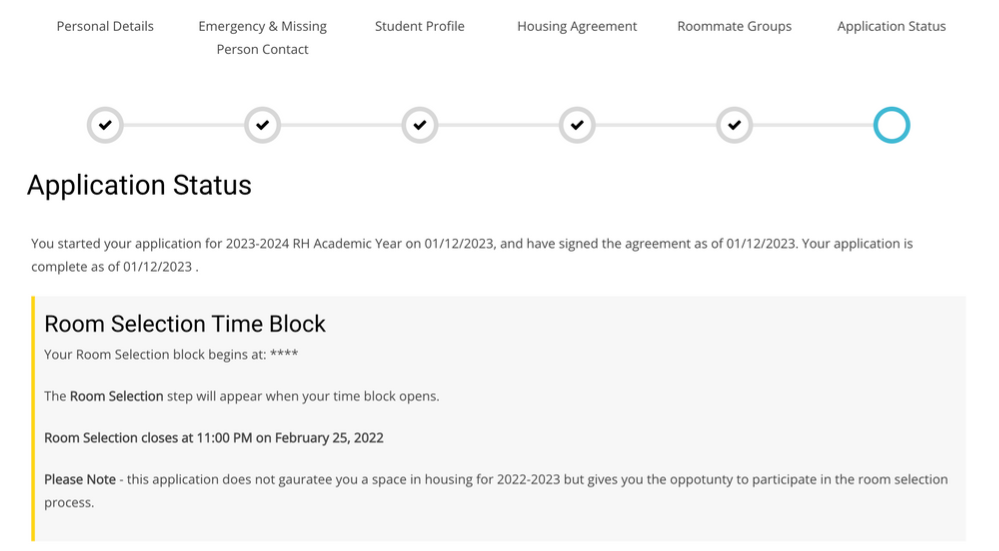
STEP 14: The next page will read “Application Status.” Your room selection time block will be listed at the bottom of the page when your application has been approved.